4 Ideas For Making Party Hats
Party hats are an essential part of the decor of a children’s party. Discover some easy, fun, and above all economical options here.
Whether it’s adults’ or children’s birthday parties, there is no shortage of traditional party hats.
If you decide to make them yourself, you will have the advantage of being able to customize them to your liking.
Discover four fun and easy to reproduce ideas here!
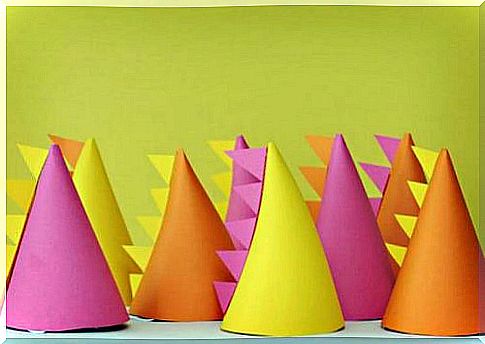
1. Children’s party hats
Of course, parties for the little ones need fun items like hats. If not, what will make them laugh when they grow up looking at photos from their birthdays and past parties?
To make very attractive party hats for kids, follow these steps.
- Find holiday hat patterns, then cut them out of cardboard paper. You can also draw them yourself. The hats are fan-shaped: two straight lines with an angle of almost 180 degrees and a curve that joins the ends.
- Fold the cut cardboard to form a cone and glue the seam.
- Pass a thread through each side of the hat and make a double knot inside to hold it in place.
- Decorate it with designs, painted phrases or pom poms, depending on the theme and decoration of the party.
2. Party hats for adults
Continuing with the cone shaped hats, you can make some really fun hats with this same process. However, colors and decorations can vary widely.
Some options are to include fluorescent colors or paint phrases or symbols like a soccer team or a superhero, for example.
Of course, if it’s a party that only adults will attend, the more daring models can also be very funny.
3. Foam rubber hats
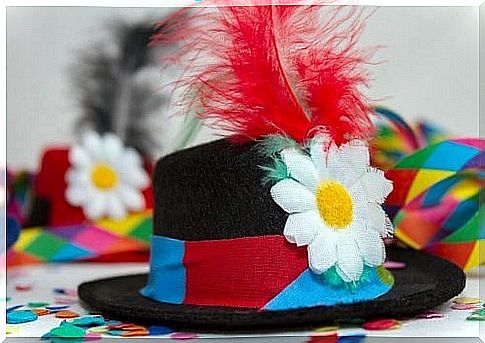
Few times in the party are as fun as when you become a magician. The only downside is that your hat has extravagant colors and, most likely, your appearance is not the most polished.
You can make beautiful little foamy hats for your party. We explain how to do this below.
- Mark two circles on an EVA rubber plate. One must be twice the size of the other.
- Cut a rectangle as large as you want for your hat. Remember that this is actually going to shape his size. Calculate the width based on the smallest circle you cut in step one.
- Glue the ends of the rectangle together to form a cylinder.
- Glue this cylinder on the large circle. It is best to let the glue dry for a few minutes before attaching it to the base of the hat.
- Glue the smaller circle to the top of the hat.
- Add the decorative details you prefer: shapes or letters in EVA rubber, sequins …
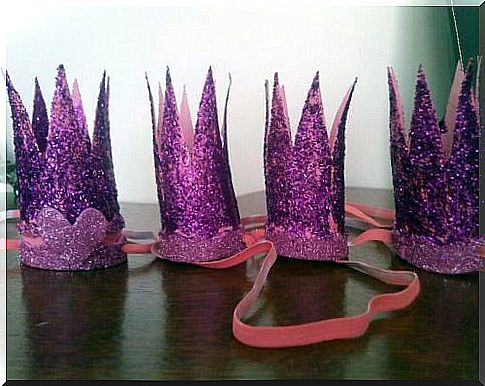
4. Birthday wreaths
Ladies can not do without their accessory during the party. That’s why we’ll also show you how to quickly and easily create crowns.
First option
- To start, cut out the top end of a zigzag tumbler, imitating the top of a wreath. On these tops, you can place pom poms to make the crown more attractive.
- Then make two holes in the base of the glass through which you will have to pass a tiara (headband).
Second option
- Cut out a strip of cardboard and cut out one of the zigzag sides.
- Pierce the ends to pass a piece of fabric that you will tie at the back of the head when putting on the crown. Try to make it as stylish as possible.
As you can see, with a little creativity we can make great party hats.
Remember that by making them yourself, you will be adding a personal touch that will make a difference (in the best sense of the word).